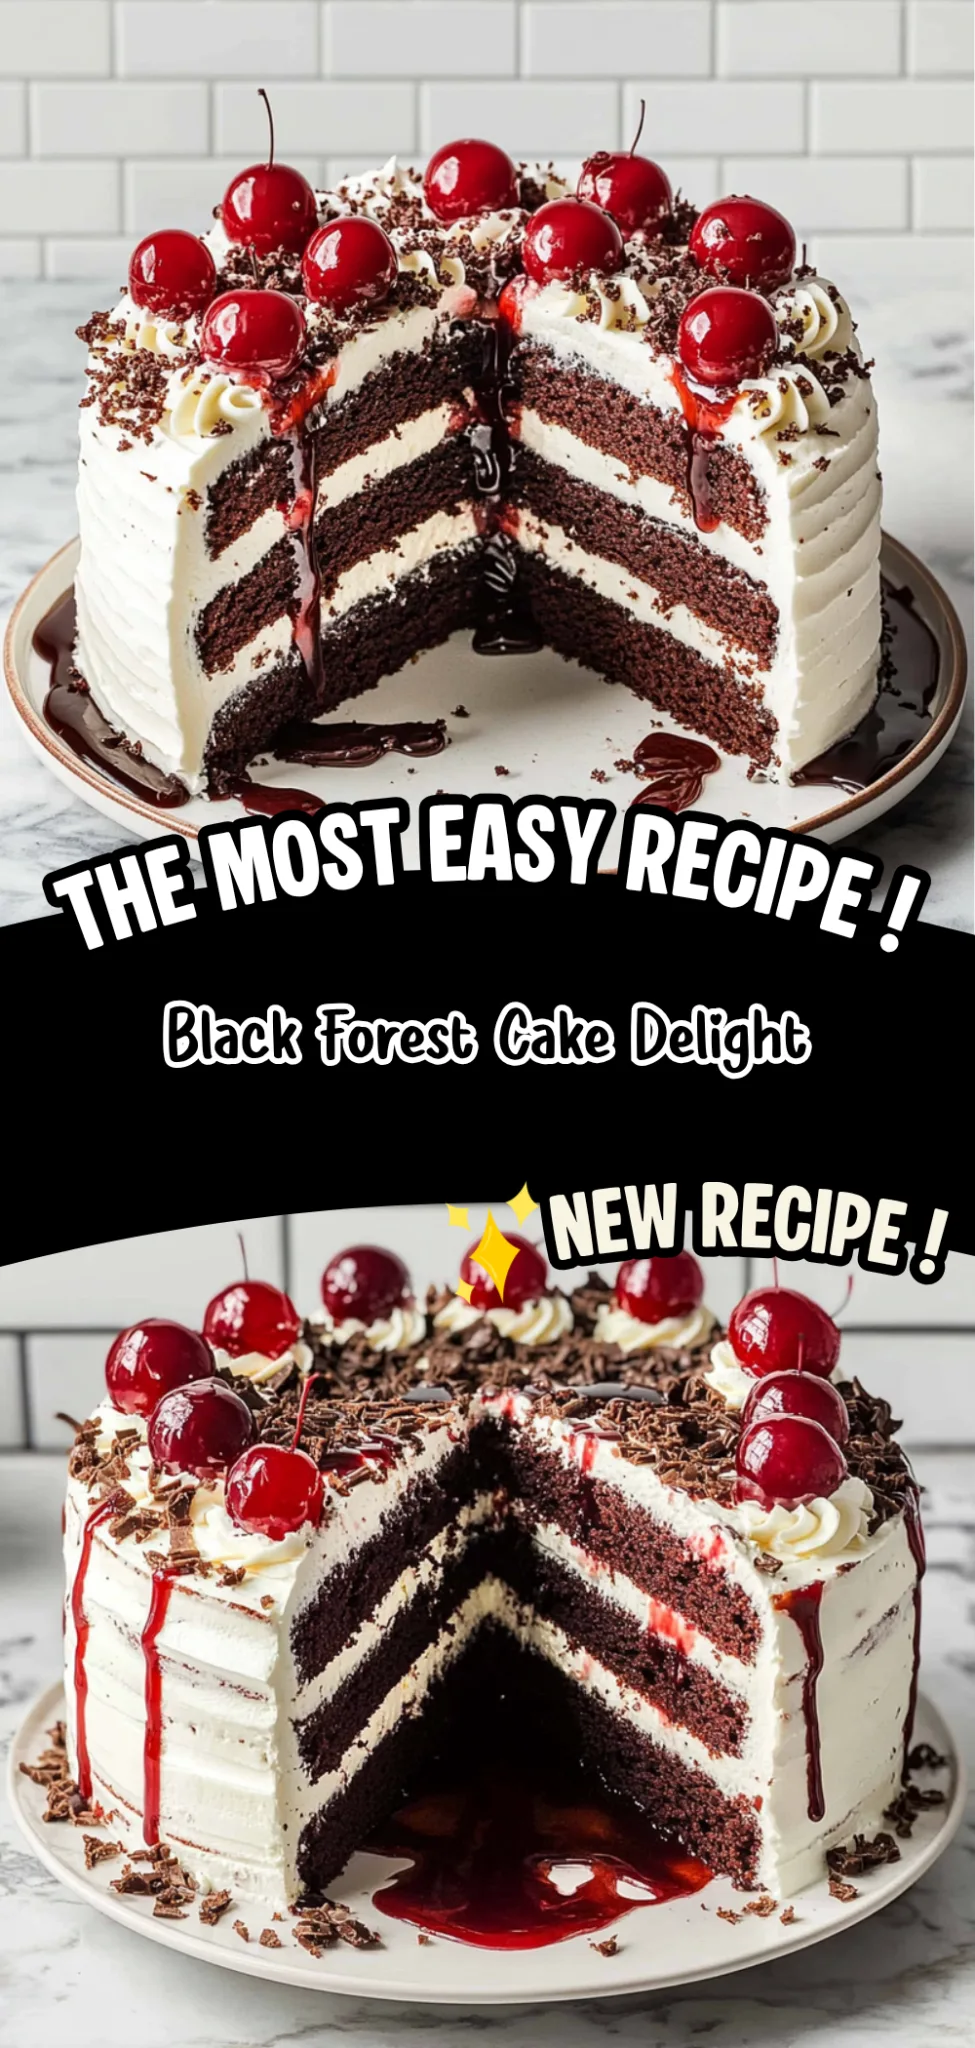
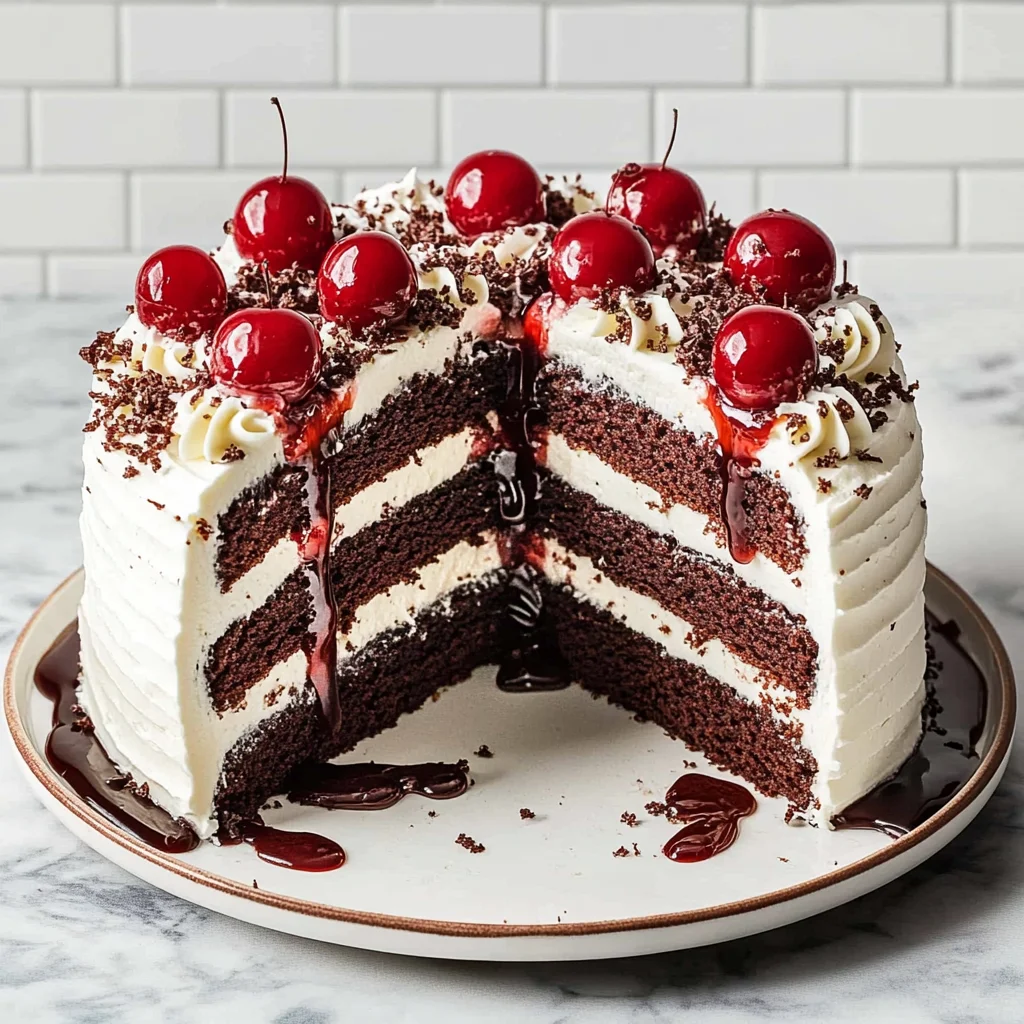
When it comes to indulgent desserts, nothing quite satisfies like a decadent slice of Black Forest Cake. Imagine the rich, velvety chocolate sponge cake layered with luscious cherries and fluffy whipped cream—it’s a symphony of flavors that dances on your palate, making every bite crispy, creamy, sweet, and utterly delightful. I created this recipe on a busy Sunday afternoon when my family was craving something special to celebrate our little victories throughout the week. With about 450 calories per serving, it’s a guilt-free way to indulge while still keeping an eye on my macros.
The first time I made this Black Forest Cake was for my daughter’s birthday—it was a rainy Saturday that turned into a cozy baking day. As I layered the cake with cherry filling, I remember her wide eyes and the way she squealed, “This is going to be the best cake ever!” The surprise twist in my version is the addition of dark chocolate shavings sprinkled between the layers, elevating the flavor profile beyond the traditional. When I served it up, my son asked for seconds with a grin and declared it his new favorite dessert—a moment that melted my heart and solidified this recipe as a cherished family tradition.
Ingredients You’ll Need
Each ingredient in this dish plays an essential role in flavor and texture. Here’s what you’ll need:
- 1 cup all-purpose flour: Provides structure and a light crumb to the cake.
- 1 cup granulated sugar: Sweetens the batter and helps create a tender texture.
- 1/2 cup unsweetened cocoa powder: Infuses deep chocolate flavor into the sponge.
- 1 tsp baking powder: Acts as a leavening agent for rise and lightness.
- 1 tsp baking soda: Works with acidity to help the cake rise perfectly.
- 1/2 tsp salt: Enhances overall flavor and balances sweetness.
- 1 cup buttermilk: Adds moisture and a slight tang for richness.
- 1/2 cup vegetable oil: Contributes to a moist, tender crumb.
- 2 large eggs: Provide binding and stability while enriching flavor.
- 2 tsp vanilla extract: Adds warmth and depth to the chocolate flavor.
Step-by-Step Instructions
I recommend starting by preheating your oven to 350°F (175°C) and greasing and flouring two 9-inch round cake pans. This step is crucial because it ensures that your cake layers won’t stick, allowing for an easy release once they are baked. While the oven heats up, take a moment to prepare your pans; this will save you time later in the baking process.
Step 1: In a large mixing bowl, combine the all-purpose flour, granulated sugar, unsweetened cocoa powder, baking powder, baking soda, and salt. I like to whisk these dry ingredients together thoroughly to ensure even distribution of the leavening agents throughout the batter. Once mixed, add in the buttermilk, vegetable oil, eggs, and vanilla extract. Beat with an electric mixer on medium speed for about 2 minutes until the mixture is smooth and well combined. This step builds serious flavor in your chocolate sponge!
Step 2: Carefully pour the batter evenly into your prepared cake pans. I usually use a spatula to scrape down the sides of the bowl to ensure no batter goes to waste. It’s also important to give each pan a gentle shake to level out the batter before placing it in the oven.
Step 3: Bake the cakes in your preheated oven for 30-35 minutes or until a toothpick inserted into the center comes out clean. Keep an eye on them towards the end of baking; you want them to be springy and set but not overbaked or dry. The aroma will fill your kitchen—you’ll know they’re close when you start getting those lovely chocolatey scents!
Step 4: After baking, cool the cakes in their pans for about 10 minutes. This allows them to firm up slightly, making them easier to remove without breaking. Then carefully turn them out onto a wire rack to cool completely. I find that allowing them to cool properly prevents sogginess when adding layers later.
Step 5: While your cakes are cooling, prepare the filling by combining whipped cream, powdered sugar, and vanilla extract in a bowl. Mix until soft peaks form—this step is key for achieving that light and airy texture that complements our rich chocolate perfectly! My family loves it when I whip this up just right; it adds an irresistible creaminess.
Step 6: Once your cakes are completely cooled, slice each one in half horizontally using a serrated knife—this will create four layers total. Be careful during this step as uneven cuts can lead to wobbly layers later on! I like to place toothpicks in each layer as guides while cutting straight through.
Step 7: Place one of the layers on a serving plate and drizzle it with cherry juice for added moisture and flavor. Spread a generous layer of whipped cream over this layer before topping it with half of the morello cherries from the jar. This combination of flavors really captures that classic Black Forest essence.
Step 8: Repeat this layering process with another cake layer followed by more cherry juice, whipped cream, and remaining cherries. When you stack on your third layer and repeat again with cherry juice and whipped cream, make sure each layer is evenly distributed; it helps with stability when you frost later on.
Step 9: Now top with your fourth cake layer and frost both the top and sides generously with any remaining whipped cream from earlier steps. This creates a beautiful finish that will hold all those delicious fillings inside while providing a creamy exterior.
Step 10: For decoration, garnish the top of your cake with chocolate shavings and whole morello cherries for an elegant touch! The contrast of textures between the creamy frosting and crunchy chocolate makes every bite exciting.
Step 11: Finally, refrigerate your masterpiece for at least an hour before serving; this allows all those wonderful flavors to meld together beautifully. Trust me—the wait will be worth it when you slice into this indulgent treat!
What to Serve with Black Forest Cake
This dish is already incredibly filling and balanced, but these sides add extra variety and nutrition to round out your meal perfectly.
Cherry Spinach Salad: This refreshing salad combines fresh spinach, sliced almonds, and juicy cherries dressed in a light balsamic vinaigrette. The tartness of the cherries echoes the flavors in the Black Forest Cake, while the spinach provides iron and vitamins A and C. My family loves this salad as a bright counterpoint to rich desserts, making it a perfect addition to any gathering.
Garlic Herb Quinoa: Fluffy quinoa cooked with garlic, parsley, and a squeeze of lemon offers a protein-packed side that’s also gluten-free. Its nutty flavor complements the chocolate notes of the cake while providing an additional 8 grams of protein per serving. We often enjoy this dish as a meal prep staple, adding versatility to our weeknight dinners.
Chocolate Avocado Mousse: This creamy dessert made with ripe avocados, cocoa powder, and a touch of honey brings another layer of chocolatey goodness while packing in healthy fats. It pairs beautifully with the Black Forest Cake by enhancing its cocoa flavors without overwhelming them. It’s become a favorite in our household for those times when we want something decadent yet nutritious.
Coconut Rice: Steamed jasmine rice infused with coconut milk creates a subtly sweet side that harmonizes with the rich flavors of the Black Forest Cake. The creaminess complements the whipped cream layers while adding healthy fats from coconut milk — about 5 grams per serving. This tropical twist has always been a hit at family gatherings, transporting us straight to summer vibes!
Storage & Serving Tips
To store your Black Forest Cake for meal prep, place the cake layers in separate airtight containers. Store the chocolate sponge cake in one container, and the whipped cream in another to maintain its fluffy texture. The morello cherries can be stored in their juice in a small container to keep them juicy and flavorful. Keep these components in the fridge for up to 4 days, but avoid assembling the cake until you’re ready to serve to prevent sogginess.
When reheating, it’s best not to reheat the assembled cake as it can compromise the texture of the whipped cream. Instead, if you want to enjoy a slice of cake warm, gently microwave individual pieces for about 15-20 seconds just until slightly warmed—be cautious not to overdo it as microwaving makes it soft and disappointing. If you wish to enjoy the whipped cream again, consider whipping up a fresh batch rather than reheating any leftovers.
Pro tip: To batch cook this Black Forest Cake for the week, consider doubling the recipe on a Sunday and portioning it into individual containers. Each family member can self-assemble their own slices with layers of cake, cherries, and whipped cream when they want dessert. For variety throughout the week, swap out morello cherries for sliced strawberries or raspberries and use Greek yogurt instead of whipped cream for a lighter option. To keep your whipped cream at its best during meal prep storage, add it fresh each time you serve a slice for optimal fluffiness.
Conclusion
This Black Forest Cake has become one of those recipes I make at least twice a month because it’s rich, decadent, and delivers a delightful 450 calories per serving without sacrificing flavor. The buttermilk in the chocolate sponge cake adds an incredible moisture and depth that sets it apart from other chocolate desserts. Give this one a try this week. I promise it’ll become a regular rotation dessert in your house too.
Black Forest Cake
Ingredients
Method
- Preheat the oven to 350°F (175°C). Grease and flour two 9-inch round cake pans.
- In a large mixing bowl, combine flour, sugar, cocoa powder, baking powder, baking soda, and salt.
- Add buttermilk, vegetable oil, eggs, and vanilla extract. Beat with an electric mixer for 2 minutes on medium speed.
- Pour the batter evenly into the prepared pans.
- Bake for 30-35 minutes or until a toothpick inserted in the center comes out clean.
- Cool the cakes in the pans for 10 minutes, then remove from pans and cool completely on a wire rack.
- In a bowl, combine the whipped cream, powdered sugar, and vanilla extract. Mix until soft peaks form.
- Slice the cooled cakes in half horizontally to create four layers.
- Place one layer on a serving plate and drizzle with cherry juice. Spread a layer of whipped cream and top with half of the cherries.
- Repeat with the second layer, then place the third layer on top and repeat the process.
- Top with the fourth layer and frost the top and sides with the remaining whipped cream.
- Garnish the top with chocolate shavings and whole cherries.
- Refrigerate for at least 1 hour before serving to allow the flavors to meld.

Leave a Comment