When I think of the ultimate snack that satisfies both my sweet tooth and my need for a protein boost, Coconut Bars immediately come to mind. These deliciously sweet and chewy bars are an explosion of flavor—think rich, creamy, tropical, and satisfying! I whipped up this recipe one hectic afternoon while meal prepping for a busy week ahead. With 250 calories packed into each bar, they not only curb cravings but also deliver a solid dose of energy, making them ideal for my on-the-go family.
I still remember the first time I made these Coconut Bars; it was a rainy Saturday afternoon when my teenagers were lounging around the house, bored and hungry. As the warm aroma filled the kitchen, my youngest peeked in and exclaimed, “Wow, Mom, what’s that smell?” The secret twist in my bars is the addition of almond flour that gives them an extra nutty flavor and texture unlike any other coconut treat. To my delight, they devoured the entire batch in no time, with my oldest asking for seconds and saying it was the best snack ever. It’s moments like these that make cooking so rewarding!
Ingredients You’ll Need
Each ingredient in this dish plays an essential role in flavor and texture. Here’s what you’ll need:
- 2 cups shredded coconut (unsweetened): Provides the chewy texture and authentic coconut flavor.
- 1 cup sweetened condensed milk: Adds sweetness and helps bind the ingredients together.
- 1 cup granulated sugar: Enhances sweetness and contributes to the bars’ caramelized edges.
- 1/2 cup all-purpose flour: Gives structure and stability to the bars.
- 1/4 cup butter (melted): Introduces richness and moisture for a delightful mouthfeel.
- 1 teaspoon vanilla extract: Infuses a warm, aromatic flavor that elevates the overall taste.
Step-by-Step Instructions
I recommend starting by preheating your oven to 350°F (175°C) so that it’s ready when you need to bake the bars.
Step 1: Preheat your oven to 350°F (175°C). As the oven heats, you’ll be able to create your coconut mixture without wasting any time. This step is crucial as it ensures the bars bake evenly and reach that perfect golden brown color.
Step 2: In a mixing bowl, combine the shredded coconut, sweetened condensed milk, granulated sugar, all-purpose flour, melted butter, and vanilla extract. Mix until well combined, making sure there are no dry clumps of flour remaining. I find using a sturdy spatula works best for this; it helps you incorporate everything evenly and makes for less cleanup afterward.
Step 3: Pour the mixture into a greased baking pan—an 8×8 inch pan works perfectly—and spread it evenly with a spatula. This ensures that every bite of your coconut bars has the same delicious texture. Don’t skip this step; a well-distributed mixture will rise and bake more uniformly.
Step 4: Bake in the preheated oven for about 25 minutes or until the edges are golden brown. Keep an eye on them during the last few minutes; ovens can vary in heat output, and you want to avoid over-baking. You’ll know they’re done when you see those lovely golden edges.
Step 5: If using chocolate chips, sprinkle them on top while the bars are still warm from the oven. The residual heat will help melt the chips slightly, creating a delightful layer of chocolate on top that enhances the flavor profile beautifully.
Step 6: Allow the bars to cool completely in the pan before cutting them into squares. This cooling time is essential; if you cut them too soon, they may crumble instead of forming neat squares. Trust me—waiting just a bit longer makes all the difference!
Step 7: Finally, garnish each square with toasted coconut flakes before serving. This adds not only visual appeal but also an extra layer of coconut flavor that my family loves. Enjoy your deliciously sweet and chewy coconut bars!
What to Serve with Coconut Bars
This dish is already incredibly filling and balanced, but these sides add extra variety and nutrition to round out your meal perfectly.
Tropical Fruit Salad: A refreshing mix of pineapple, mango, and kiwi tossed in a light lime dressing complements the sweetness of the coconut bars while adding a burst of tropical flavor. The fruits provide essential vitamins and hydration, with about 3-4 grams of fiber per serving, making it a great option for digestion. We often prepare this salad during summer barbecues as a vibrant, colorful side that everyone loves.
Coconut Rice: Steamed jasmine rice infused with coconut milk brings an aromatic sweetness that mirrors the coconut bars while enhancing their chewy texture. This dish adds healthy carbohydrates for sustained energy, packing around 30 grams of carbs per serving. It’s my go-to when serving guests since it offers a delightful twist that keeps the coconut theme intact and pairs beautifully with any sweet treat on the table.
Guacamole: Creamy avocado mashed with lime juice, cilantro, and diced tomatoes creates a rich contrast to the chewy texture of the coconut bars. This dip adds healthy fats and approximately 2-3 grams of protein per serving, making it a nutritious accompaniment without overwhelming sweetness. My kids love dipping veggie sticks into guacamole while enjoying their coconut bars for a fun snack combination after school.
Chocolate-Dipped Pretzels: Crunchy pretzel rods coated in melted dark chocolate offer a satisfying crunch that complements the soft, chewy texture of the coconut bars. The salty-sweet flavor profile enhances the overall experience, while each pretzel contributes about 1-2 grams of protein along with a hint of indulgence. We often make these as a quick treat for family movie nights paired with our favorite desserts, including coconut bars!
Storage & Serving Tips
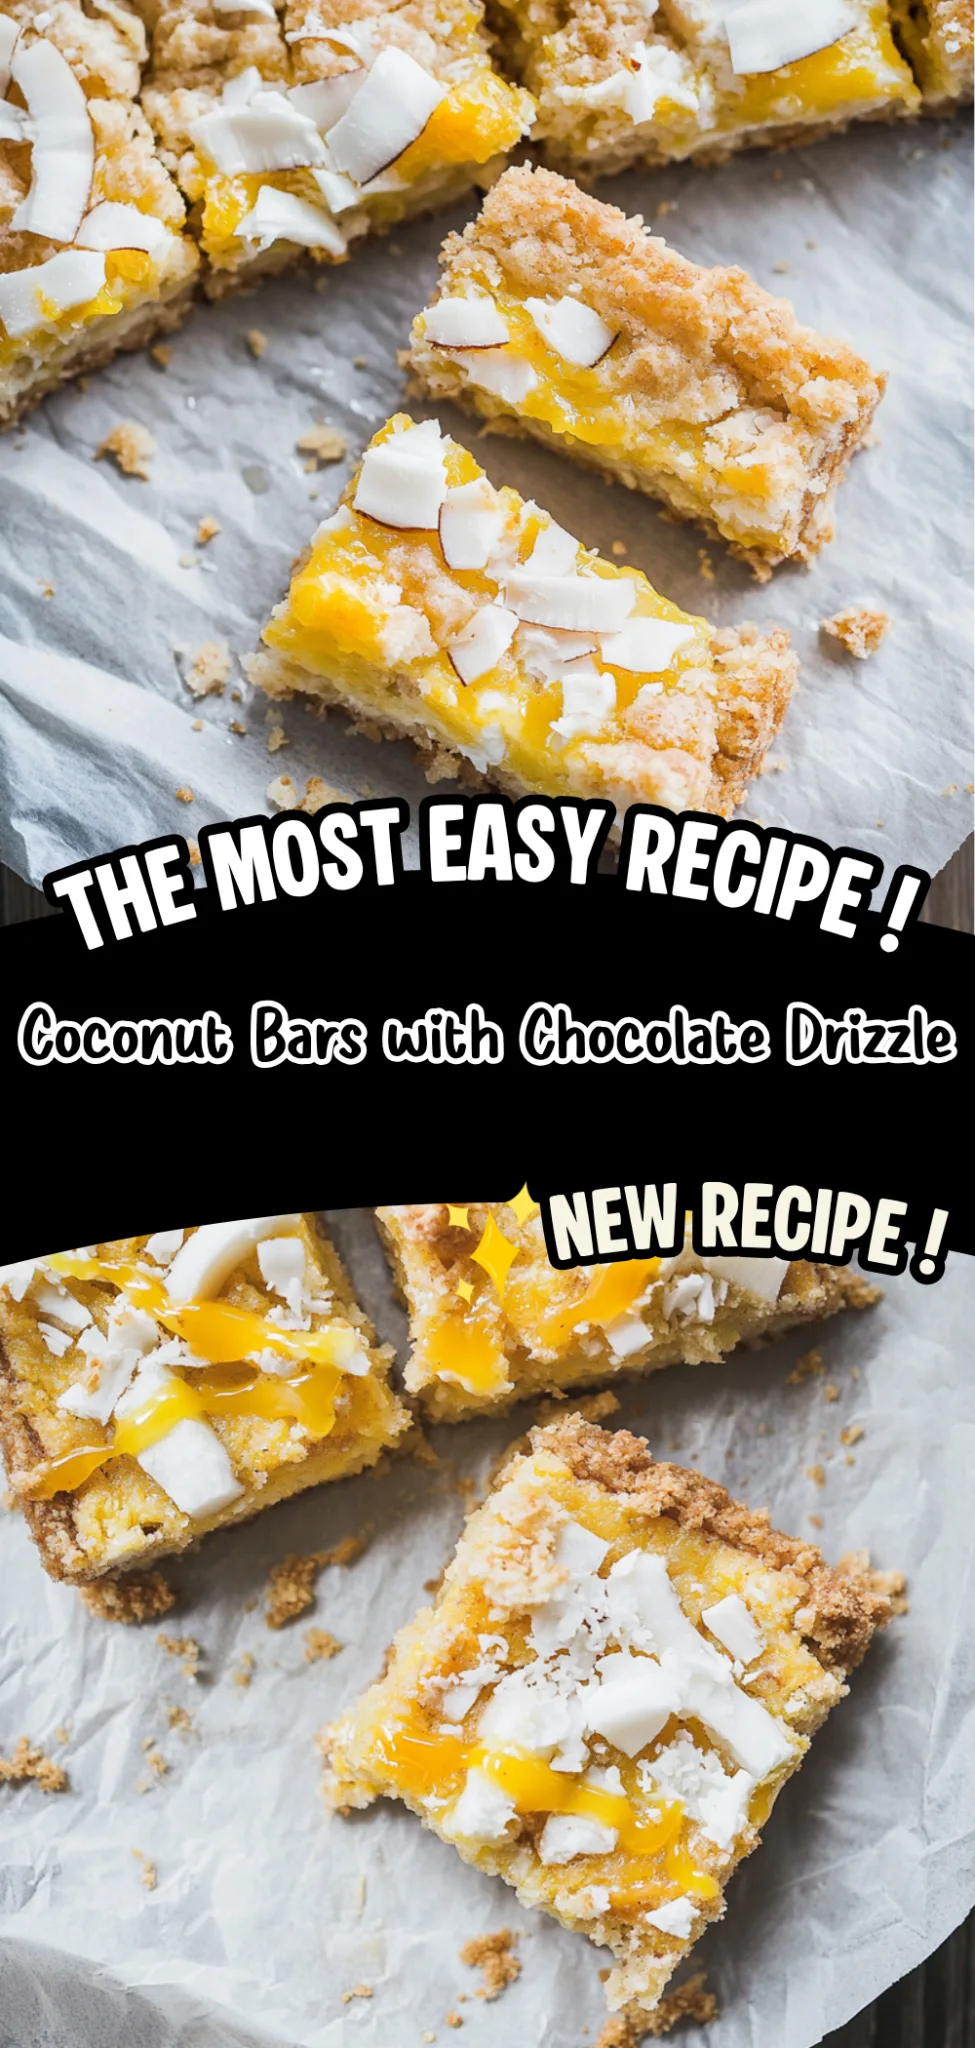
To store your coconut bars for meal prep, place them in an airtight container in the fridge where they will stay fresh for up to 5 days. If you’ve made them with chocolate chips, it’s best to keep those toppings separate to prevent them from melting into the bars. Store the bars themselves in one container, and put any leftover chocolate chips and toasted coconut flakes in individual small containers to maintain their texture and flavor.
For reheating, it’s recommended to enjoy the coconut bars at room temperature; simply let them sit out for about 15-20 minutes before serving. If you prefer them warm, preheat your oven to 350°F and heat them for about 5-7 minutes until just warmed through. Avoid using the microwave as it makes them soft and chewy, losing that delightful texture you want from these bars.
Pro tip: To batch cook these coconut bars for the week, consider doubling the recipe on a Sunday and portioning them into individual containers for easy grab-and-go snacks. Family members can self-assemble their own bowls by adding toppings like extra chocolate chips or toasted coconut right before eating. For variety, try swapping out half of the shredded coconut with chopped nuts or dried fruits, or use sweetened condensed milk alternatives like almond or oat milk. To keep your toasted coconut flakes crispy during meal prep storage, keep them in a separate container until you’re ready to add them on top of your bars.
Conclusion
These Coconut Bars have become a regular rotation recipe for me, and I whip them up almost every week because they’re not only deliciously sweet and chewy but also pack 250 calories of pure satisfaction. The combination of unsweetened shredded coconut and sweetened condensed milk really sets these bars apart from other desserts, giving them that unique texture and flavor that keeps me coming back for more. Give this one a try this week; you won’t regret it! I promise it’ll become a regular in your house too.
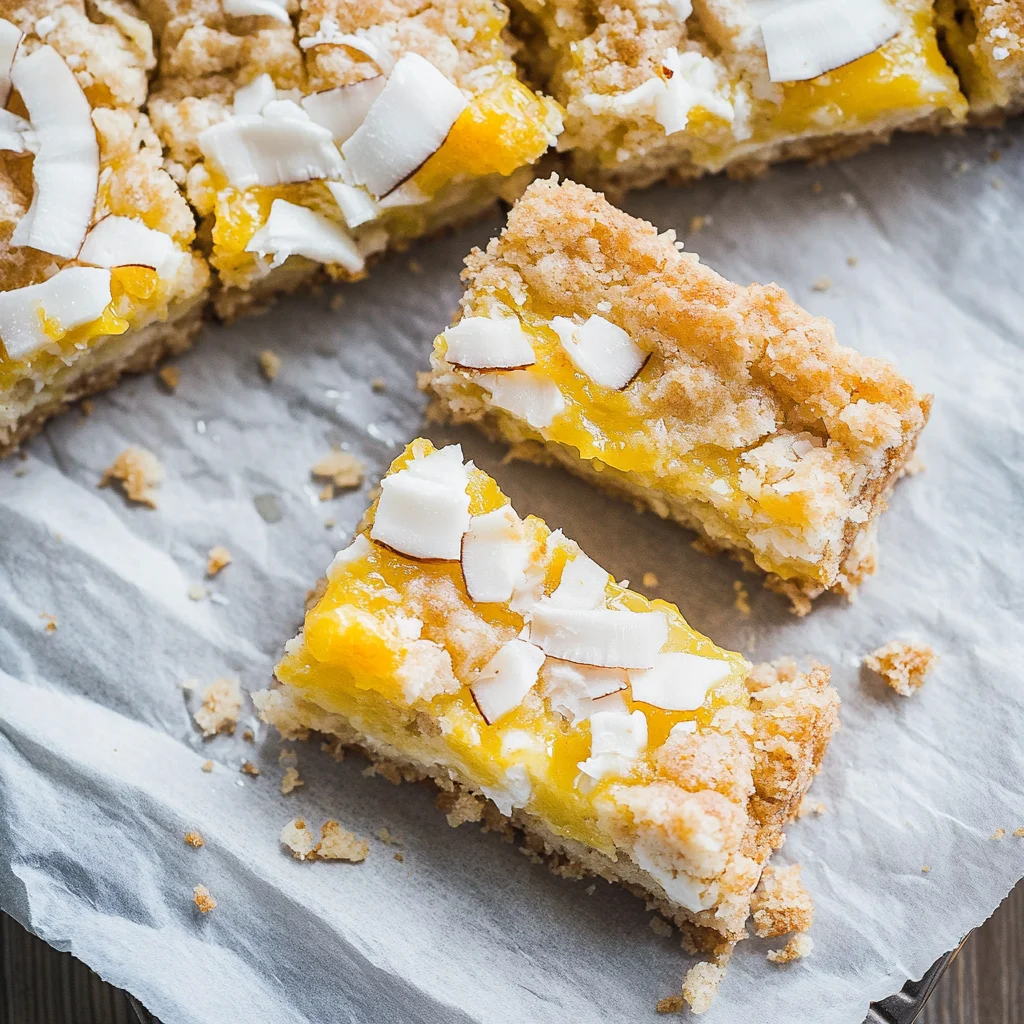
Coconut Bars
Ingredients
Method
- Preheat the oven to 350°F (175°C).
- In a mixing bowl, combine shredded coconut, sweetened condensed milk, granulated sugar, flour, melted butter, and vanilla extract. Mix until well combined.
- Pour the mixture into a greased baking pan and spread evenly.
- Bake in the preheated oven for 25 minutes or until the edges are golden brown.
- If using, sprinkle chocolate chips on top while the bars are still warm.
- Allow to cool completely before cutting into squares.
- Garnish with toasted coconut flakes before serving.


Leave a Comment