There’s nothing quite like sinking your teeth into a Crispy Dill Pickle Grilled Cheese Sandwich, where tangy crunch meets gooey, melty goodness! Picture this: crispy, savory, fresh, and loaded with protein. I whipped up this delightful twist on the classic grilled cheese during one of those busy weeknights when I needed a quick meal that packed in flavor and nutrients, especially with 20 grams of protein per serving. The addition of crispy dill pickles not only elevates the taste but also satisfies those late-night cravings.
I still remember the first time I made this for my family — it was a lazy Saturday afternoon, and my teenage daughter wandered into the kitchen, drawn by the smell of toasting bread. As I placed each sandwich on the skillet, she raised her eyebrows and exclaimed, “What’s that magic you’re cooking?” When she took her first bite, her eyes lit up as she declared it her new favorite! It’s amazing how something as simple as adding dill pickles can transform an ordinary grilled cheese into a family favorite, and let me tell you, she went back for seconds without hesitation!
Ingredients for the Crispy Dill Pickle Grilled Cheese Sandwich
Each ingredient in this dish plays an essential role in flavor and texture. Here’s what you’ll need:
8 slices sourdough bread: Provides a sturdy base with a delightful chewiness.
4 slices cheddar cheese: Melts beautifully, adding rich creaminess to every bite.
1 cup dill pickles (sliced): Offers a tangy crunch that elevates the classic grilled cheese experience.
4 tablespoons butter (softened): Ensures a golden, crispy exterior while enhancing richness.
Step-by-Step Instructions
I recommend starting by spreading butter on the bread since it helps create that perfect crispy crust while you prepare the fillings.
Step 1: Spread butter on one side of each slice of sourdough bread. Make sure to coat them evenly, as this will enhance the flavor and texture once grilled. Using softened butter is key here; it spreads easily without tearing the bread. I usually prefer a generous layer to ensure that each bite is deliciously rich.
Step 2: Layer cheddar cheese and dill pickles between two slices of bread, with the buttered sides facing out. Place one slice of bread down, add two slices of cheese, then a good amount of dill pickles for that tangy crunch, and top with another slice of cheese before closing it with the second slice of buttered bread. This combination not only adds flavor but also keeps the cheese gooey and melty as it cooks.
Step 3: Heat a skillet over medium heat. A cast-iron skillet works wonders for achieving an even golden brown crust, but any non-stick pan will do. Once hot, gently place your sandwich in the skillet. This is where the magic happens; cook for 3-4 minutes until the bottom is golden brown and you can smell that savory aroma wafting up.
Step 4: Flip the sandwich carefully using a spatula and cook for another 3-4 minutes until the other side is golden brown and the cheese has melted completely. Keep an eye on it to avoid burning; I often peek under to check for that beautiful color. The goal is a crispy exterior with gooey cheese inside—trust me, it’s worth the wait!
Step 5: Remove from skillet, slice in half, and serve warm. You’ll want to let it sit just a minute before cutting so the cheese doesn’t ooze out too much when you take that first bite. Enjoy it fresh off the pan for maximum crunch!
What to Serve with Crispy Dill Pickle Grilled Cheese Sandwich
This dish is already incredibly filling and balanced, but these sides add extra variety and nutrition to round out your meal perfectly.
Classic Coleslaw: This crunchy coleslaw features shredded cabbage, carrots, and a light vinaigrette that provides a refreshing contrast to the rich grilled cheese. The crisp vegetables enhance the texture of the meal while their slight sweetness balances the salty cheddar and tangy pickles. Plus, it’s packed with vitamin C, making it a nutritious side that my family loves to enjoy during summer cookouts.
Garlic Herb Quinoa: Fluffy quinoa tossed with garlic and fresh herbs serves as a wholesome, protein-rich side that complements the savory flavors of the sandwich beautifully. With about 8 grams of protein per cup, this dish not only adds a hearty element but also helps keep everyone satisfied. I often make a big batch for meal prep; it’s great for lunch boxes throughout the week!
Avocado Lime Crema: This creamy avocado lime dip is made by blending ripe avocados with Greek yogurt, lime juice, and cilantro for a zesty flavor explosion. The healthy fats from the avocado enhance the richness of the grilled cheese while echoing the fresh notes from the dill pickles. My kids love dipping veggies in it too, making it a versatile option for snacking before or after meals.
Roasted Sweet Potato Wedges: These sweet potato wedges are seasoned with paprika and roasted until crispy for a delightful side that adds a touch of sweetness to your plate. Their natural sweetness pairs well with the tangy dill pickles in the sandwich, creating an enjoyable contrast in flavors. Plus, they’re high in fiber and vitamins A and C—perfect for fueling active kiddos!
Storage & Serving Tips
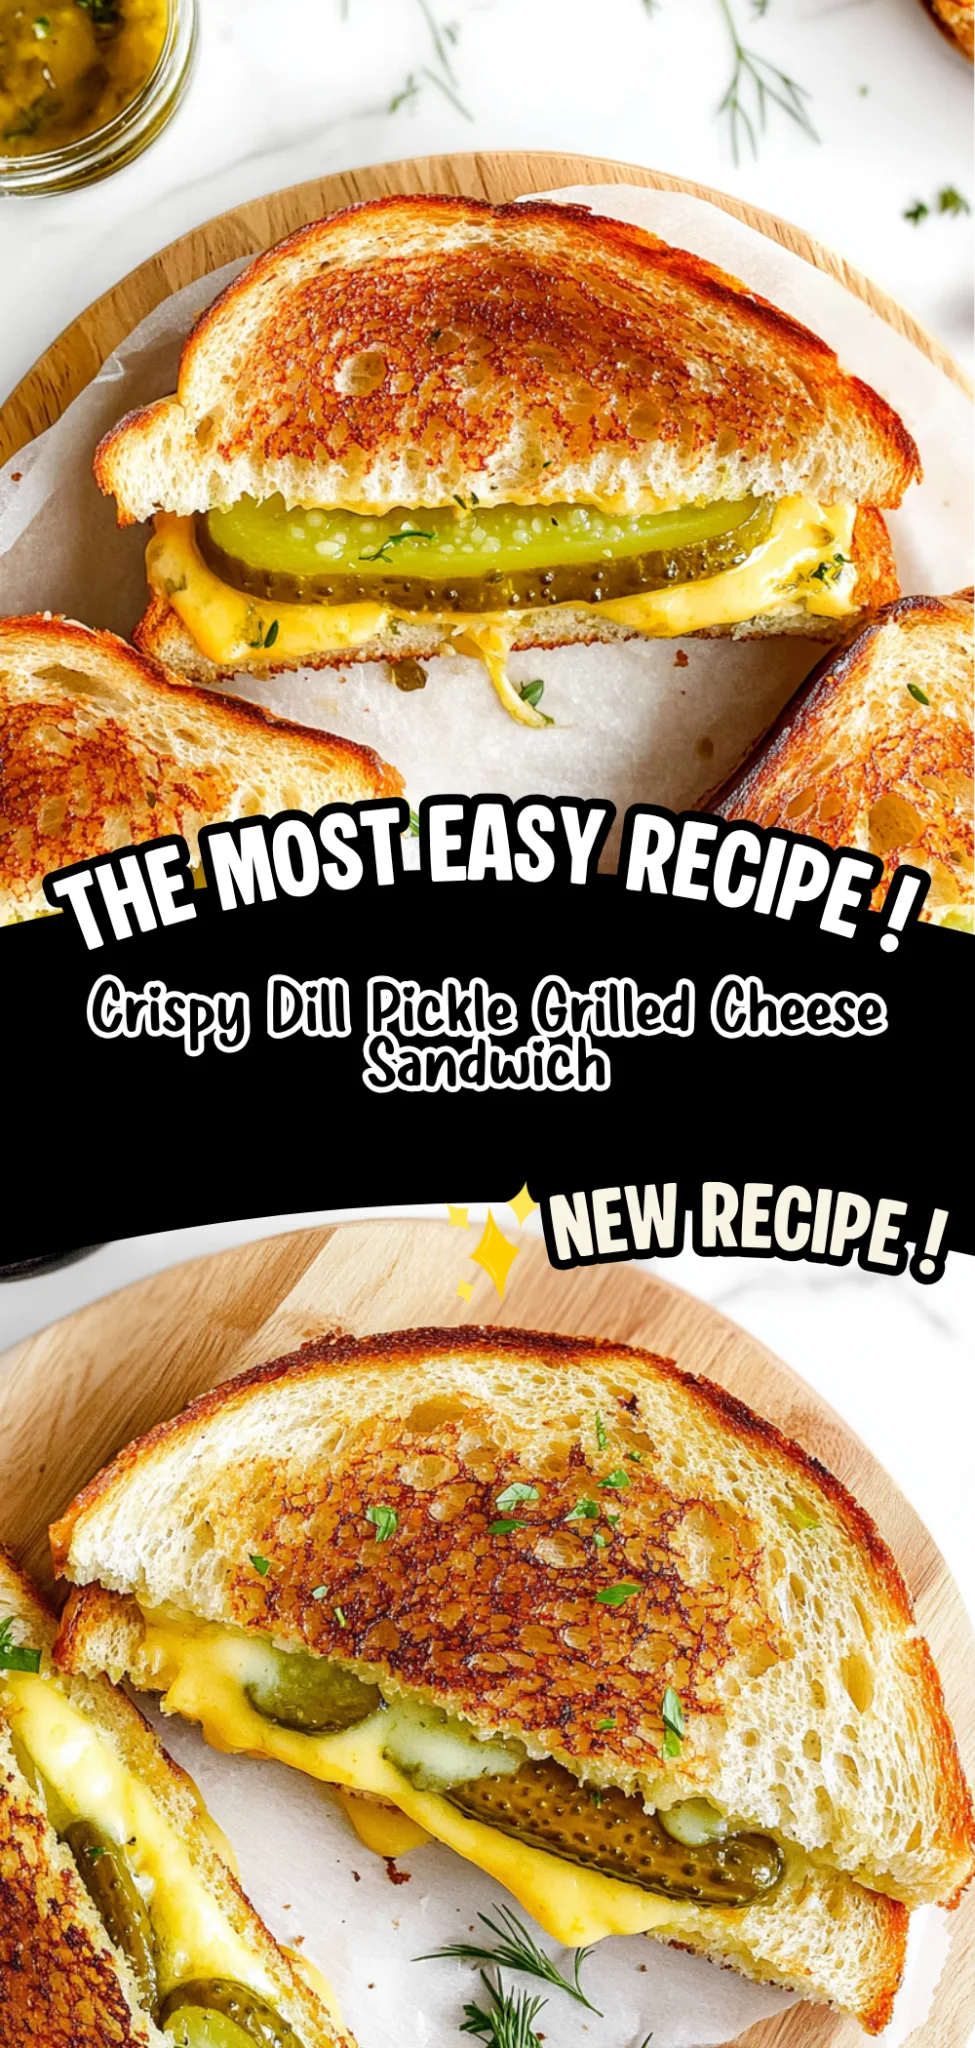
To store your Crispy Dill Pickle Grilled Cheese Sandwich for meal prep, place each sandwich in an airtight container in the fridge, where they will stay fresh for up to 3 days. However, for optimal taste and texture, it’s best to keep the components separate. Store the sliced sourdough bread and cheddar cheese in one container, the dill pickles in another to maintain their crunch, and the softened butter in a small container. This way, you can assemble your sandwiches fresh each time while keeping everything at its best.
When reheating, remove the sandwich from the fridge and preheat your oven to 375°F. Bake the assembled sandwich for about 10 minutes until heated through and crispy on the outside. Avoid microwaving, as it makes the bread soft and disappointing. If you need to reheat individual components, you can warm the cheese and bread separately on a skillet over medium heat for about 2-3 minutes per side until melty and golden brown. The dill pickles can be enjoyed cold or warmed slightly on a skillet just until they are heated through.
Pro tip: To batch cook this recipe for the week, double your ingredients on Sunday and portion out four sandwiches into individual containers. Family members can self-assemble their grilled cheese using fresh sourdough bread and cheese each day, with options like swapping cheddar for gouda or pepper jack for some added spice. For extra nutrition variety throughout the week, consider adding sliced avocado or even swapping out pickles for roasted red peppers. Remember to keep your softened butter stored separately to ensure it stays spreadable and doesn’t affect the texture of your sandwiches!
Conclusion
This Crispy Dill Pickle Grilled Cheese Sandwich has become one of those recipes I make at least twice a month because it’s genuinely easy, incredibly satisfying, and delivers 350 calories of comfort without feeling guilty. The addition of crispy dill pickles makes this sandwich stand out from typical grilled cheese dishes, adding that perfect tangy crunch that elevates the whole experience. Give this one a try this week. I promise it’ll become a regular rotation meal in your house too.
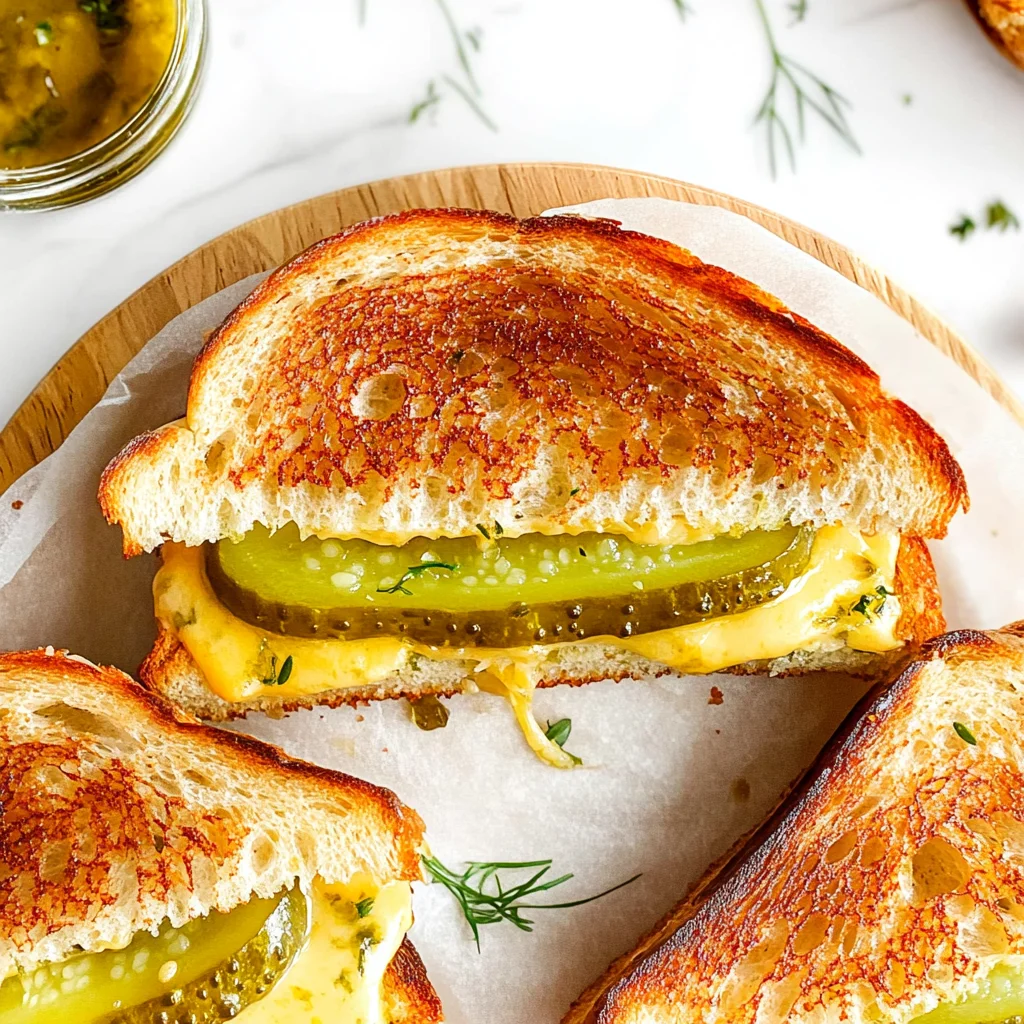
Crispy Dill Pickle Grilled Cheese Sandwich
Ingredients
Method
- Spread butter on one side of each slice of bread.
- Layer cheese and dill pickles between two slices of bread, buttered sides out.
- Heat a skillet over medium heat.
- Place the sandwich in the skillet and cook for 3-4 minutes until golden brown.
- Flip the sandwich and cook for another 3-4 minutes until the cheese is melted and the other side is golden brown.
- Remove from skillet, slice in half, and serve warm.

Leave a Comment